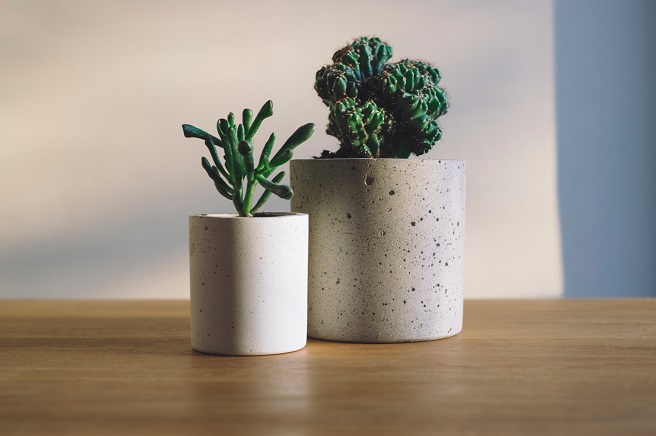
Small concrete planters for indoor plants are a simple, stylish and fun DIY home decor project to do on your own or as a family.
Skill level: Easy
Time: A few hours over a period of 2 days
Tools & Materials:
Bag of ready mix concrete
Water
2 different size molds – use empty containers you have on hand, such as plastic storage containers
Cooking oil, non-stick cooking spray or mold-release spray
Bucket
Drill
Concrete mixer attachment for drill
Concrete bit
Plant
Optional: Concrete dye or miscellaneous plant leaves
Step 1
Prepare the mold for your planter by placing a small container inside a larger container.
Coat the inside of the big container and the outside of the small container with cooking oil, non-stick cooking spray or mold release spray.
This will help you remove the finished planter later.
Step 2
In a bucket, mix the concrete with water according to package directions.
Mix, adding more concrete or water as needed, until it’s the consistency of peanut butter.
It’s much easier to use a concrete mixer attachment on your drill than doing this by hand.
Step 3
To color the concrete, add dye according to package directions.
If you want leaf impressions on your planter, place some leaves inside the big container at random.
Tthe cooking oil or spray should hold them in place temporarily.
Pour the concrete mixture into the large container.
After you’ve filled it as much as you wish, center the smaller container in your big container.
Press into the concrete.
Place something heavy, such as a rock, in the smaller container to keep it from moving around while the concrete dries.
Step 4
Now it’s time to wait.
Do not disturb your project for at least 24 hours.
Step 5
You’ve been so patient!
Now at last you can see how everything turned out.
First, remove the small container.
This may require some elbow grease.
Once it’s out, test the concrete.
If it’s still wet, let it continue to dry before you attempt to remove the planter from the big container.
Step 6
When the concrete seems dry, gently remove the planter from the big container.
You may have to cut away the container to do this.
Try making one cut all the way down the side of the container.
This should allow you to pop out the planter.
You may want to leave your planter in the sun for a few more hours to continue drying.
Once it’s completely dry, drill a few drainage holes in the bottom of the planter with your concrete bit.
Add some potting soil, a plant and some water. Then sit back and admire your handiwork!
You can also try filling these pots with succulents for a trendy, modern look.