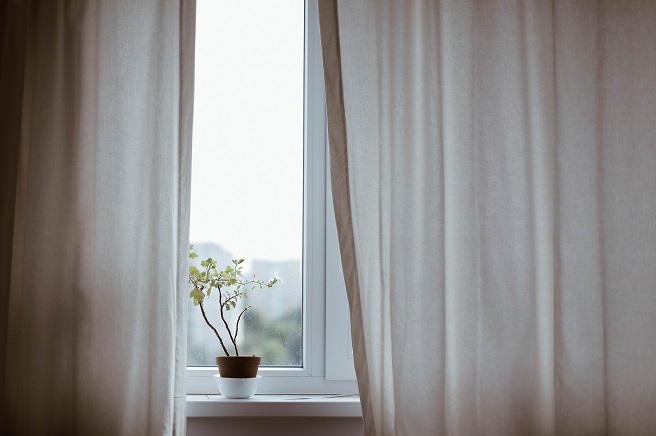
Window treatments can blend in with your walls or stand out as the crown jewel of a room.
Once you’ve decided which role your windows should serve, try one of these DIY window treatments to make plain old curtains look like they were customized by a professional designer.
“As far as dressing up curtains, you can add any kind of trim simply with a hot-glue gun,” says Marian Parsons of Mustard Seed Interiors, a blogger and interior designer featured on HGTV.com.
“I’ve also seen people add embellishments such as lace doilies.”
Try these easy DIY decorating ideas to upgrade your windows.
1. Trim It
Tailor a custom look for curtains by sewing or gluing a decorative trim along the edges that perfectly complements your space.
Your trim of choice may determine the placement.
Consider adding it with a running stitch along the top, bottom, or all the way around the edges.
2. A Glimpse of Lace
Lace provides an extra oomph to solid curtains in a room with lots of natural light.
Measure your curtains and buy lace cut to the exact measurements of each panel.
Use aerosol glue spray to adhere the lace to the back of the panels, taking care to trim the lace to meet the hems of the curtains.
Remember, the lace side might be visible from the outside.
If you want extra security, use thread that matches the existing stitching on your curtains, then rip out the stitching and sew it back with the lace tucked underneath the hems.
3. Matching Rods and Panels
Often times, the curtain rod is just as important as the window dressings.
Make the rod blend in with the curtains by covering it with fabric from an extra panel.
Or create more contrast by using a different fabric.
You can create a slipcover perfectly tailored for your curtain rod with a simple running stitch.
Once the slipcover is in place, secure it with a few more stitches.
Curtain rods are far away from viewers’ eyes, so your stitching doesn’t need to be perfect.
4. Dip-Dyed Ombre Effect
The color gradation trend is easy to achieve on your window treatments with a dye of your choice and a container large enough to accommodate your curtain panels and ties-backs.
Guide the tops of each panel onto a broomstick to control them during the dyeing process.
Cover the floor in your dyeing area with a tarp to avoid stains.
Measure and mark with a straight pin the boundaries between three equal sections from top to bottom on each panel.
Don’t dye the top third to achieve the saturated gradient look.
Dyeing intervals will vary based on the brand of dye you use, but plan to let both second and third intervals soak in the dye, then soak just the third section for the same amount of time.
If it’s lighter than you desire, let it soak a little longer.
Leave ties-backs in the dye longer for an even bolder look.
5. Ribbon Stripes
Vertical stripes add depth and movement to any room.
Fake striped curtains by purchasing wide ribbon in a color of your choice.
You can never go wrong with black!
Use a yardstick and a level to mark where you’ll secure the ribbon for stripes.
Attach with a running stitch or iron-on adhering tape, making sure to tuck the ribbon ends underneath the curtain for a neat finish.
Create even more visual interest by using two or more colors of ribbon. Use leftovers as tie-backs.
6. Color-Blocked Tones
Have you found a fabric that would complement your existing decor?
Sew a foot-tall border of it onto the bottom of your curtains.
This DIY window treatment won’t take long but will make a big statement.

