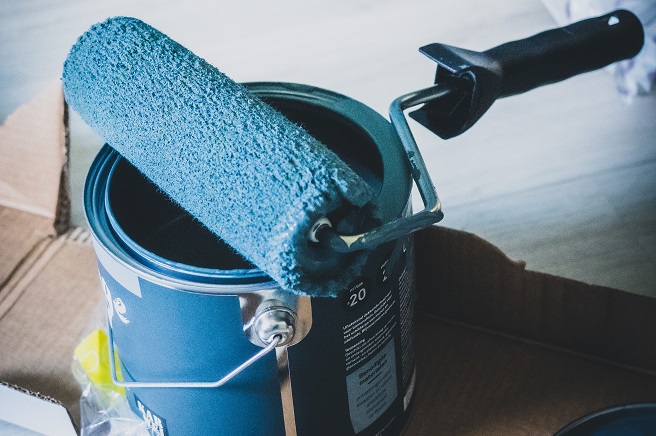
Let’s face it, painting is tedious, messy business but we do it anyway because it protects our walls, cabinets and furniture.
Giving the interior of your home a new glossy (or matte) finish is essential to the upkeep and appeal of your home, but properly executed painting projects should be given the time and planning it deserves.
So, here are our top tips on surviving a painting project.
1. Sampling and Testing
Go down to your local paint store and get some small cans of samples, some brushes and and some squares.
The store can mix these sample paint colors for you if you ask them.
For each room you want to paint, create 5 or 6 closely related but different shades of you color and hold them up on the wall.
Invite a friend to come help you by offering a second opinion, because you really really want to get this right the first time.
There are fewer things more frustrating than finishing a pain job only to realize that you picked the wrong color.
There are various online tools you can use by uploading photos of your room.
Obviously this approach won’t work with furniture, but it will for cabinets.
If you’re unsure about it, keep trying new ideas and samples.
This isn’t a race.
2. Preparation and More Preparation
They say prep is the most important part of a paining project, and that’s because it is.
You’re going to need plastic covers, tape, rollers, brushes, sand paper, scrapers, blades, screw drivers, drills and probably a few other items.
Take you time getting your job prepped, you’ll thank yourself later.
Clean and sand surfaces with a fine sandpaper so that any loose paint or bumps on the surface get smoothed out.
3. Water or Oil Based?
Opinions on this have changed over the years, and most DIYers like water or latex based paint because it is easier to apply, doesn’t give off a strong odor, is easier than oil to clean up, and offers the same level of quality and protection.
Water based paint is suitable for general painting for walls and ceilings.
Oil or acrylic based paint is messy, smells very strong, is hard to clean if it gets on the wrong surface, is generally more difficult to apply and takes longer to dry.
But, many experienced decorators and painters will tell you that in some cases, it is worth the trouble to use oil. Those cases are:
- When you’re applying paint to an older layer of oil paint. A new coat of oil based paint will will adhere better to an existing layer of old oil based paint.
- You’ve got a new piece of wood furniture with no finishing, that requires extra protection and appeal. Oil and acrylic pain will last longer and provide long and better protection over the years.
- Any item you really want to paint only once. Oil based paint is more durable than water based paint.
4. Application
Always choose the right brush or roller for your pain job.
While it might not sound very important, the brush and roller you use are key to getting the final finish you want.
For walls and ceilings you’ll be using water based paint, so use rollers and brushes designed for water based paint.
The same principle applies for trim and oil based paint, though you’ll pay more for oil paint brushes.
Ask your paint store if you have questions about what to use.
5. Clean-Up
As we mentioned in the beginning of this guide, proper preparation will help you cut down on excessive clean-up.
Paint inevitably gets on surfaces where it doesn’t belong, and if it’s water based, cleaning it up won’t be too much trouble.
But if you’ve done your prep work correctly, unwanted drip and marks should be minimal.
One of the reasons oil paint isn’t used much anymore is because of its toxicity and threat to environment.
Depending on where you live, there are recycling and disposal options for leftover paint and chemical.
Here is more information about the proper disposal of hazardous household waste (HHW) from the EPA.
Or, even better donate your excess supplies to a local charity if possible.
They’ll appreciate the donation and you’ll feel better about the impact you project has on landfills and the environment.
In Summary
Take your time in planning for and preparing for your indoor painting project.
You’ll love the results, hopefully stay withing your budget, and enjoy your newly renovated living space.

